

Role-Based Access
Role-Based Access gives a fine-grained security access control.
Changes will affect who can see what in your office including in reports. Please review settings and make sure they suit your needs.
Setting Access Permissions
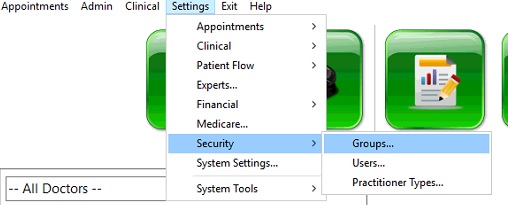
Go to Settings.. Security.. Groups..
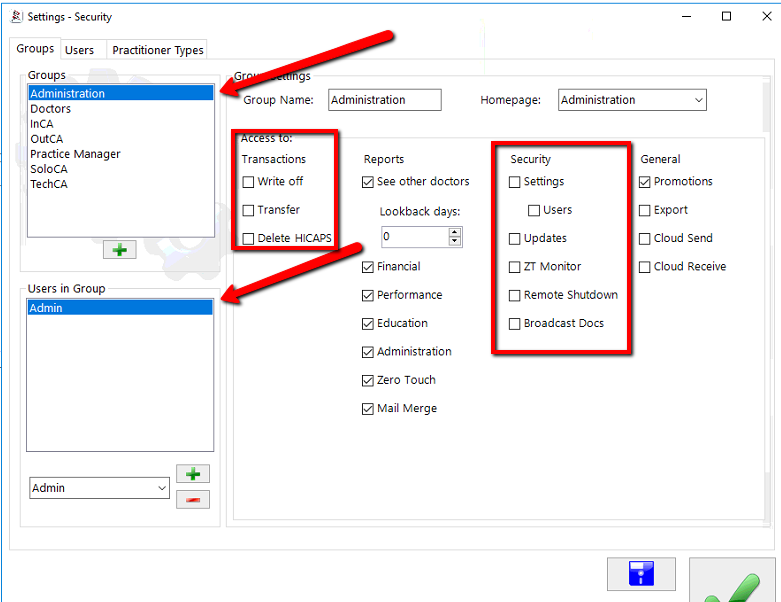
You can see the list of Access Permissions for each group. To add or remove permissions for a group, simply tick the boxes.
Each user is a member of one or more groups. That user then receives all the permissions of each group they are a member of.
Temporary Access Permissions for Transactions
In the case shown below, by default, the Admin does not have permission to do special transactions:
If they do try to do one of these transactions, a window will pop up to allow someone who does have permission to enter their password and allow that single transaction.
Report Access
A doctor can always see the entire history of their own transactions, but unless you explicitly allow it, they cannot see the transactions of other doctors:
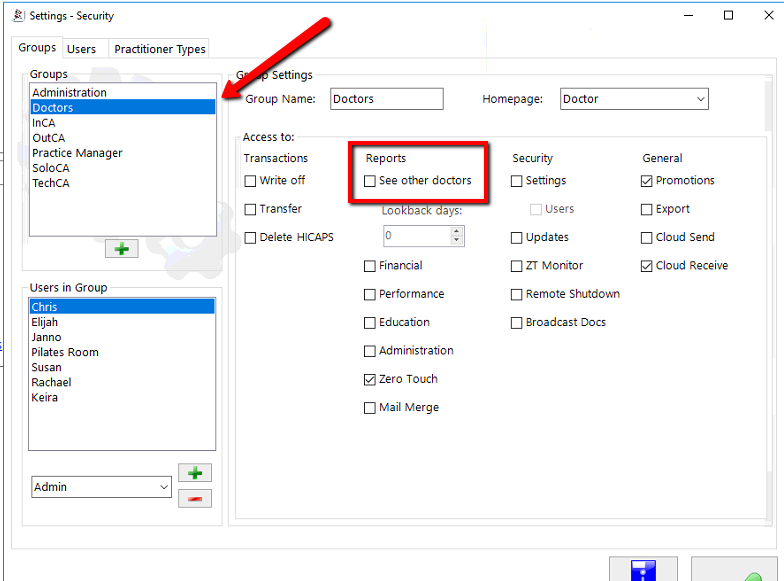
By setting the ‘Lookback days’, you can determine how far back the user can look back at ‘other doctors’ info. By default, this is limited to 1 day for CAs, but you can change it to a week or whatever interval is most useful for your office. Set the ‘Lookback days’ to ‘0’ to allow unlimited access.
Practice Manager
By default, the PM will have access to all features and settings:
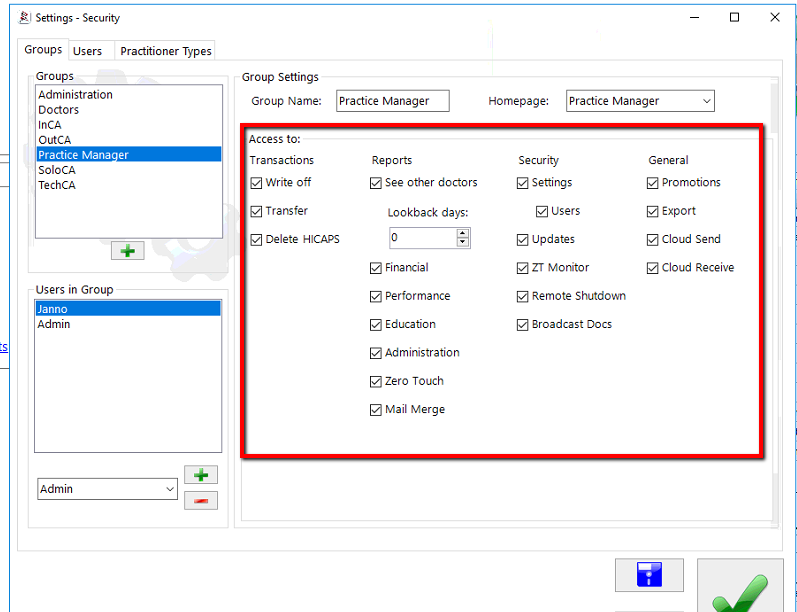
You can change this as is appropriate to your requirements. The only restriction is that someone will need to have the ‘Settings’ and ‘Users’ options both checked so someone can access and edit these permissions!

