Print on the DB4 Medicare Forms
To print on the DB4 form, you need a Dot Matrix printer and it must be installed on one of your PCs.
The Printer
You need one of the following models:
- Epson LX-300
- Epson LX-300+
- Epson LX-300+ II
Note that the LX-300+ II is the only model that will work with 64-bit editions of Windows.
If you already have a Dot Matrix printer then by all means test to see if it will work using the instructions in this help file. We will however be unable to support any other printer.
Printer Setup
Driver
Plug in your Epson LX-300
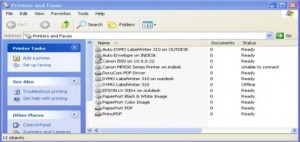
If it automatically installs open the Windows Printer window (below) then delete it from the list:
Download and install the drivers for your model:
LX-300 (32-bit only)
LX-300+ (32-bit only)
LX-300+ II (32-bit and 64-bit)
Windows
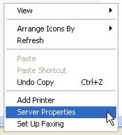
When your printer is installed Right-Click in an empty space in the “Printers and Faxes” window and select “Server Properties”
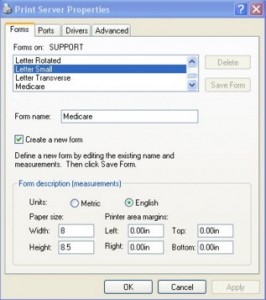
The following window should now be displayed:
Click the “Create a new form” tick box
Put in the “Form Name”, e.g. “Medicare”
Select “English” as the measurement
Width = 8
Height = 8.5
Click “Save Form”
Click “OK” to close
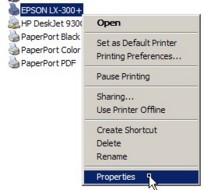
Right-Click on the Printer and select Properties:
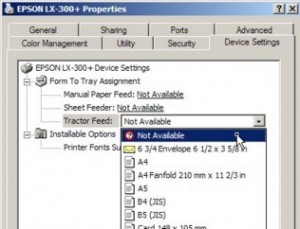
Select the “Device Settings” tab
Set all the “Form To Tray Assignment” to “Not Available”
Select the “General” tab
Click “Printing Preferences”
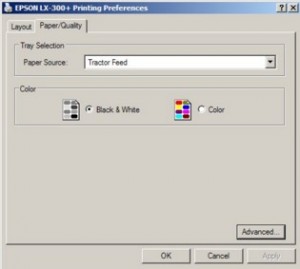
On the new Window select “Paper/Quality” tab
Set “Paper Source” to “Tractor Feed” and Color (Colour!) to “Black & White”
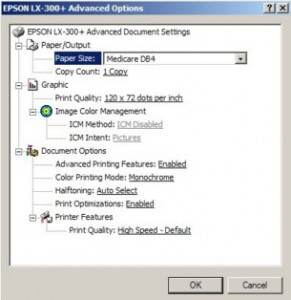
Click “Advanced”:
Set the “Paper Size” to the Medicare form you entered in earlier
(Note – If you definitely created the Medicare form and it is not showing then you have the wrong printer drivers installed. You are more than likely using Windows Generic drivers which do not come with as many options as the Manufacturers. If use are using the Epson 300 re-install the drivers as described above. If you are using another printer try and obtain the latest drivers from the manufacturer.)
Click “OK” to save and exit.
Sharing
Now to have it so that anybody on the network can print Medicare forms and not have to set it up each time. On the Printer Properties Window
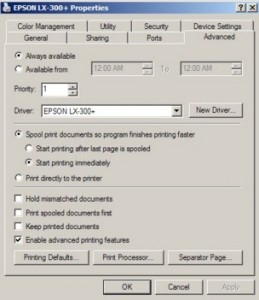
Select the “Advanced” tab
Click “Printing Defaults”
The window that pops up is the same one as before so set the settings as before:
Click Advanced and set the settings as you did before:
Click “OK” to close down the two windows.
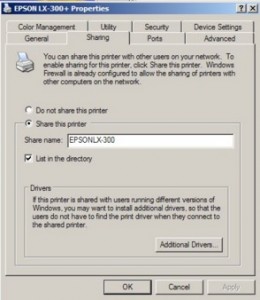
On the Printer Properties Window, select the “Sharing” tab
Select “Share this printer”
Click “OK” to Save and Close
Set Spinalogic to use this Printer
Go to Settings.. System Settings.. Local Settings.
Next to ‘Dot-Matrix Printer’, select the printer you just installed.
Tags
Accounts Admin Admin training appear appointment Appointments Calling Clinical Data Import DC Training Dictionaries Dictionary Documents Document Templates email Experts Finger Scanners firewall general settings GoLive HICAPS Hours Ignition Training Image Analysis Installation MAP Medicare Overdue patient Patient Flow Payments PDF Save Time Training Slow SMS Statements Stocktake stripe sync Tech CA Training transaction Troubleshooting Video Zero-Touch Zurili

