Minimizing Geometric Distortion of Posture and X-Ray Photos
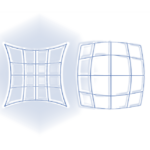
When you use a camera to take a picture of a patient posture or x-ray, there is always going to be geometric distortion present. However, with care, you can minimize this and get good clinically meaningful images.
The key principle is to ensure the most important part of your image is centred on the axis of your camera lens and that that axis is perpendicular to the surface behind your image.
Here’s how:
- Your calibration points must be centred in the region of interest of your image.
- The axis of your camera lens must be perpendicular to the wall.
- The axis of your camera lens must be aligned to the centre point between your calibration points.
- Take your picture from as far a distance as practical – use a zoom lens as required.
Here are some practical suggestions on how to make this happen.
For point 1: put your calibration marks such that they are in the middle of your subject. e.g. for posture photos, typically put them 1 metre apart and half the height of your average patient above the floor. You can find the average heights here: http://en.wikipedia.org/wiki/Human_height#Average_height_around_the_world. In Australia, it’s 168 cm so put the points 84 cm above the ground.
For points 2 and 3, you may find it makes it easier to put your camera in a tripod. If you do, use a good quality tripod – they’re much easier to get reproducible result with.
Flash or No Flash?
For posture photos, use a flash. For x-ray photos, use a view box and no flash.
Image size
You want your images high enough resolution but not too high as there is no more information in them, it just makes them bigger to store and slower to load. 2-4 megapixels is ideal.
Notes
By the way, this is a very well studied subject. Try googling ‘camera alignment perpendicular’ 😉
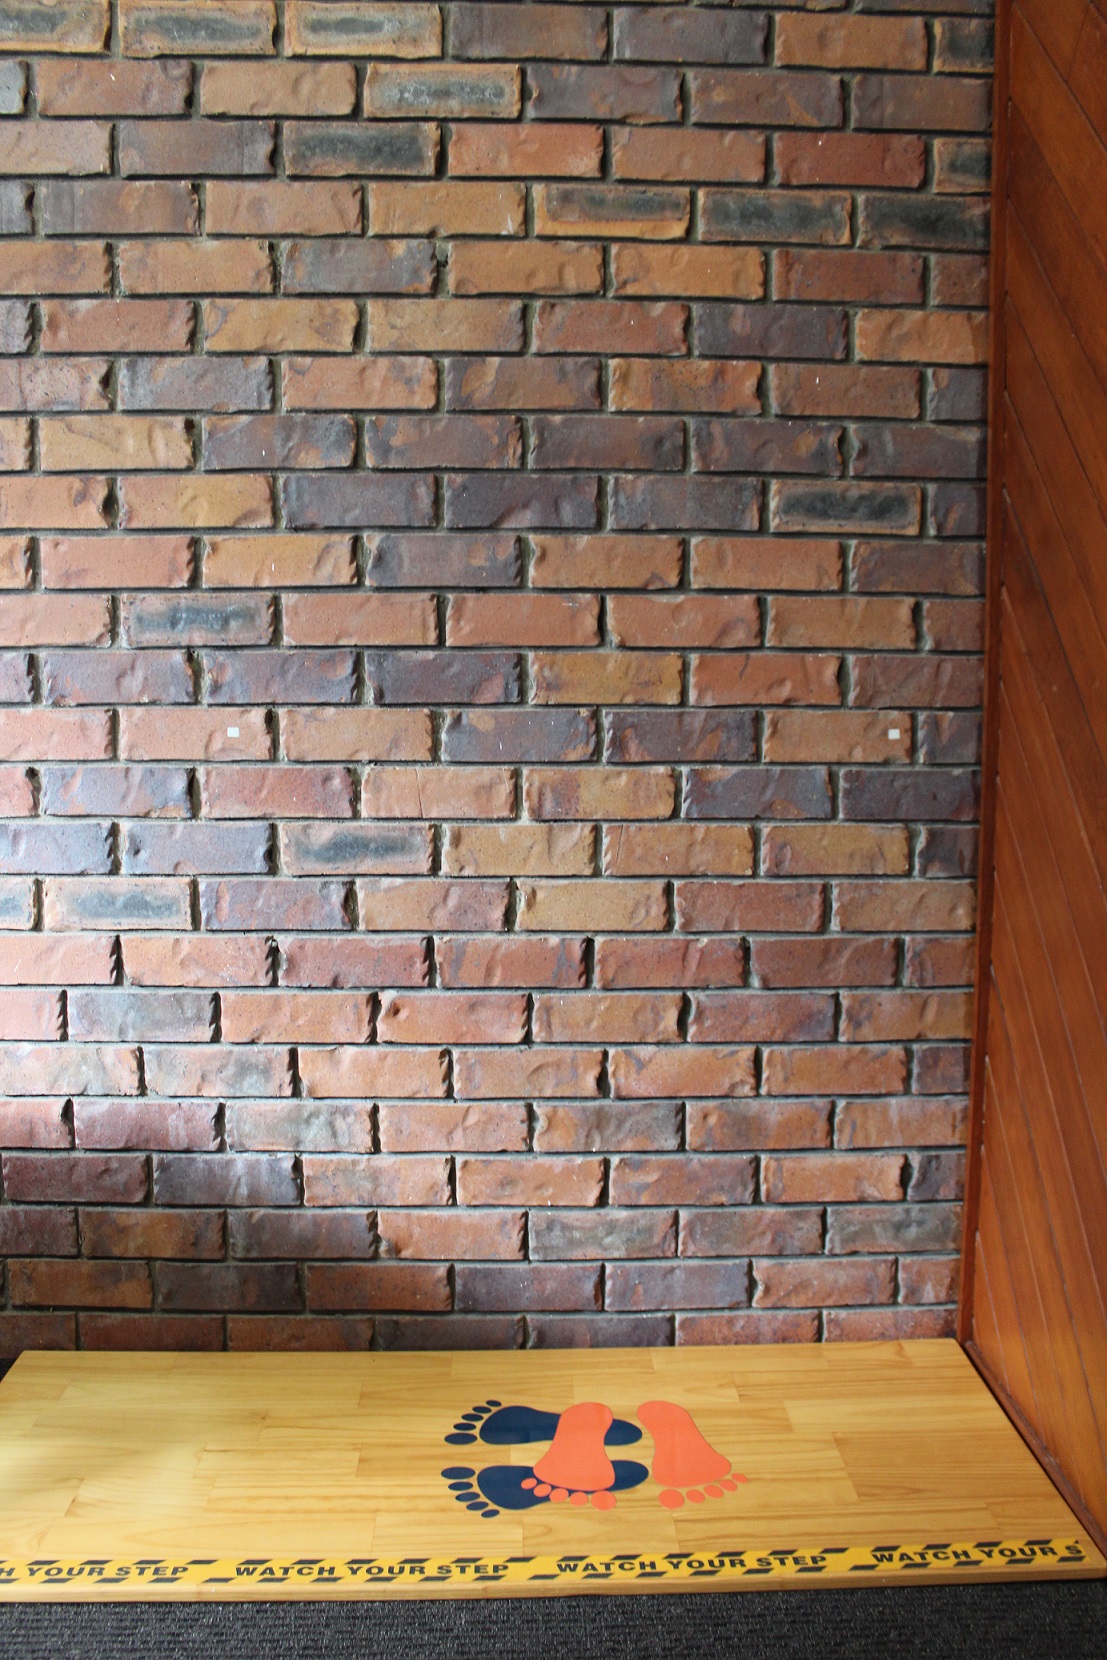
Help the patients
It’s best if you have some feet for the patient to stand on so they are centred and their feet are in line and evenly turned out. We also recommend getting them to close their eyes and look at where they ‘think’ normal is. Here is a good setup: