

How to set up a New Doctor / Practitioner
There are a few steps to getting a new practitioner set up.
Create the Practitioner as a User
You will need Practice Manager credentials to do this.
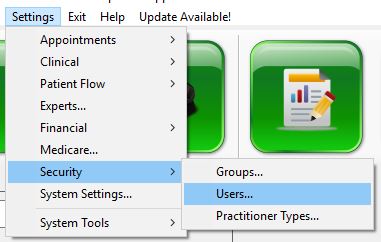
Open Settings..Security..Users:
Click the ‘+’ under the list of Users to add a new one:
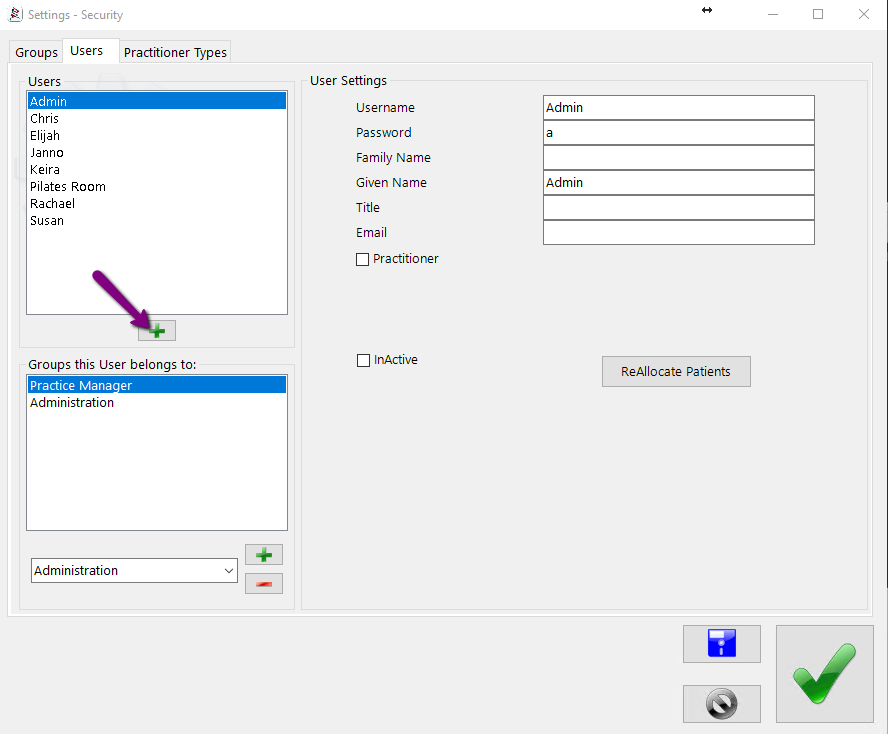
Enter the details of the new Practioner:
Username: this is what will be displayed internally for login and on reports
Password: the pw the Practitioner will use to log in to Spinalogic
Family Name / Given Name / Title: Used on receipts and in email signatures
Email: the address that will be used as the return address on any email created by this Practitioner in Spinalogic
Practitioner: Check this box 🙂 Set the practitioner type from the drop list. If the one you want isn’t there, use the tab above to add ‘Practitioner Types’.
Default Service: The service item that is automatically used when a patient has their clinical record closed after recording the visit details. If the item you need is not here, add it in Settings..Financial..Products. Add it as a ‘service’.
Default Bank Account: The account to which payments at Checkout will be deposited. Must be a zero-touch enabled account. If you don’t use Checkout, leave it blank. If you want to use an account that is not listed, add it in Settings..System Settings..Bank Accounts.
Provider Number: The provider number for the practitioner that will appear on their receipts for claiming from health funds. Some practitioners have multiple provider numbers, just enter them all here. Not required if you will be using HICAPS
Inactive: leave this unchecked 😉
If you use HICAPS, check the HICAPS Provider box and set up HICAPS settings.
Set the Groups this User belongs to: On the left under the ‘Groups this User belongs to’ list, select ‘Doctors’ from the drop list. Click the green ‘+’ beside it to add this user to that group. Add other groups if you need to.
If the Practitioner is Replacing Another
If this new Practitioner is going to be taking over from another, you need to do the patient and appointment re-allocation process.
If your new practitioner will become a second Dr on in a shift
Here are calling settings you may want to consider with your new Chiropractor.
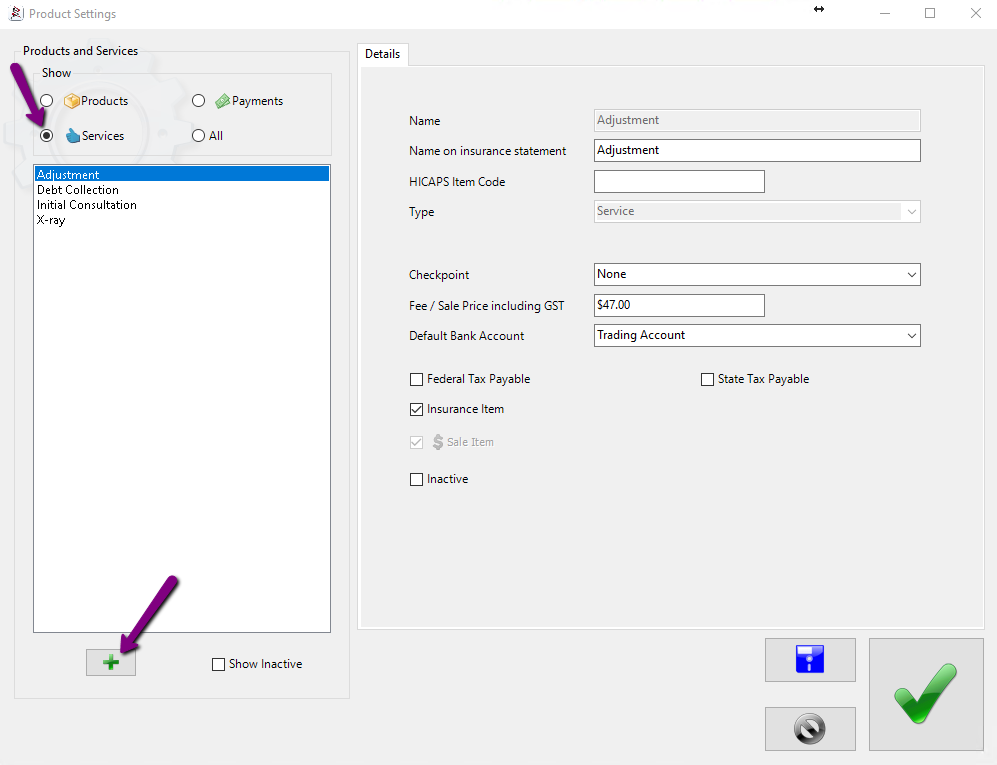
Set up your Products
If this is a new type of Practitioner for you office, you’ll probably need to create new service items to bill for. Do that at Settings..Financial..Products. Click the ‘Services’ radio button, then the green plus below:
Set up your Appointment Types
Settings..Appointments..Appointment Types:

If you need help, look here.
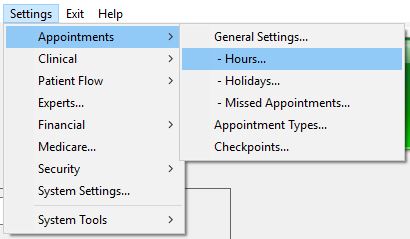
Set up your new Practitioner hours
Settings..Appointments..Hours:
You can get help on this here. You can also copy hours from other practitioners if that helps get you started.
Check it’s all good
Open you appointment book, select your new Practitioner. Check you can add an appointment of the types you want.
Try arriving someone with one of those appointments and check the billing gives you want you expect.
And you’re done 🙂
Zurili Integration
Zurili syncs the new Practitioner as a Resource. You will need to go into Zurili and finish setting up the Resource and maybe add the new person as a User to0. Resources here. Users here.
All the new appointments will just sync both ways.
Of course the Syncrotron needs to be running for this 😉
While Appointment Types are not actually synced, if you make an appointment in Spinalogic, when Zurili syncs it for the first time, it will create a matching Appointment Template (AT) which you can then go and edit. So the easiest way is to make a appointments of the different types you have just created and let them sync to get your ATs initialized.
Note that hours are not synced so you will need to set the Resource Availability separately. You will probably need the ATs set up first as above. You find the Resource Availability when you click on a Resource in settings.
Once you think you are done, make sure you recheck the Online-Booking and Concierge Wizards to check you haven’t missed anything.
You may also want to add online-booking links to your website for the new Practitioner.

